Monday, September 26, 2011

Fall Mantle or Mantel (whichever way you spell it)

Autumn is my most favorite season, hands down.  And October is my most favorite month.   So even though it is 80 degrees out and humid as a Louisiana swamp, I started decorating my fall mantle.  (Googling the correct spelling of mantle is of no help - it says either way is correct). 


 This year my theme was "Autumn Harvest." 

We picked these apples ourselves and I put them in this French Style Metal Basket


This squash caught my eye because of its amazing lines and colors.
I filled this bird cage with itty bitty baby pumpkins
Some freshly fallen leaves from my front yard


I purchased the burlap "AUTUMN" banner from Funkyshique's Etsy Store :)  I LOVE IT!  She did a fantastic job!!


Welcome Autumn!!!  Oh how I have missed you!!!!


Don't forget to follow my blog, and please leave a comment letting me know what you think!!


This blog post was shared with: 

The Lettered Cottage's Ideas for Fall Linky Party
Mama Hen's  Linking Party

Saturday, September 24, 2011

Apple Picking

Today I officially welcomed the fall by going apple picking!!  Unfortunately, I got a little over-eager and bought WAY too many apples.  Be prepared for lots of apple-based blog posts in the near future. 


I am on the left, and that is Steffie on the right (we are hot and sweaty - please excuse us).  I used the Colorsplash Iphone App to turn the pics black and white and then brought the color back to the apples. 

Thursday, September 22, 2011

The DC Big Flea

This past weekend my aunt Suzy and her friend Lenny came to visit me.  We piled into her car and went to the DC Big Flea, where I hit the jackpot!  I bought this cute white corner cabinet that was negotiated down to $100!  AND it fit in my aunt's Hylander!!  (OK OK OK fine, I can hear her shouting from NJ as she reads this ..... technically my aunt spotted the cabinet first and pointed it out to me.  Technically.  So she deserves more credit than just having a big enough car to lug around furniture).

Here is the before of my dining room area:


And here is the after :) 


And here is a close up of the centerpiece on my table.  It is lavender in Mason jars in the french style metal basket that I previously blogged about.
 

Here are some of the other fun things that I saw at the DC Big Flea:


I also would be remiss if I did not mention the AMAZING house warming gifts my aunt and her friend Lenny brought with them to DC.

My aunt filled this red galvanized bucket with SO MANY GOODIES!  Four bottles of wine, candles, spices, fun napkins, three cutting boards, sauces and dips, and so much more .... not to mention bones for my dog and a big "flea" toy for him!


And Lenny gave me the most BEAUTIFUL wine glasses monogrammed with my initials!  He said this way, no will will try to steal them :-D  They are stunning! 


I am so thankful for their generosity and helping me warm my new home!!


I shared this with:

Common Ground's Vintage Inspiration Friday
Miss Mustard Seed's  Furniture Friday
A Beach Cottage's Good Life Wednesday

Monday, September 19, 2011

Chalkboard Paint is Freaking Awesome

I have wanted to try out Chalkboard paint for a while.  When I imagined the house I was going to buy, I secretly hoped that it would have the perfect wall to do floor to ceiling chalkboard paint, but alas the home I purchased didn't have a wall that would allow that.

I recently purchased two very cheap clay pots from Ikea (the total of both was less than $5 - I don't even want to imagine what they must pay their employees to be able to afford to sell their products for so cheap.  I digress...).


I used Rust-Oleum Chalkboard paint.


I used a small sponge rolling brush to apply the paint.  I also made sure to paint the top part of the inside, in case you can see inside the pot.  I only needed one coat!


After letting them dry for three days, I dusted them with chalk to let it set and then I planted some mums in them.  I put them on my front porch and wrote "Welcome" on one and "Lenny + Suzy" on the other for my aunt Suzy and her friend Lenny who came down to DC for a visit.  

I have so many ideas of what I can do with these - such as "No." and my house number, like below.  I can also do "Trick" and "Treat", or "Merry" and "Christmas."  The possibilities are endless! 


I had so much fun with this that I started looking around the house for other things I can use chalkboard paint on.  One of the things I spotted was this jar that I use for dog treats.

Here is the before:


 And here is the "after":


It says "Treats For Good Dogs"  :-D


And of course, I can't talk about chalkboard paint without posting a picture of my Ms. Mustard Seed chalkboard!!!  I love this!!  I use it as a menu board in my kitchen. 


I can't wait to find more things to use chalkboard paint on!  (Family and friends be warned - chalkboard paint projects MIGHT turn into Christmas presents!)

(PS - I KNEW IT!  Ikea isn't all smiles and sunshine after all!)


I shared this with: 


Passionately Artistic's Linking Party
Saved By Loves Creations' Thrifty Thursday
The Shabby Creek Cottage's Transformation Thursday

Tuesday, September 13, 2011

An easy and cheap way to add vintage character to a house

Sometimes the smallest things can make a big impact in a room.  When I first moved into this house I was contemplating all of the things I could do to give it character.  Then I prioritized those by A) the easiest and quickest to do and B) the cheapest.

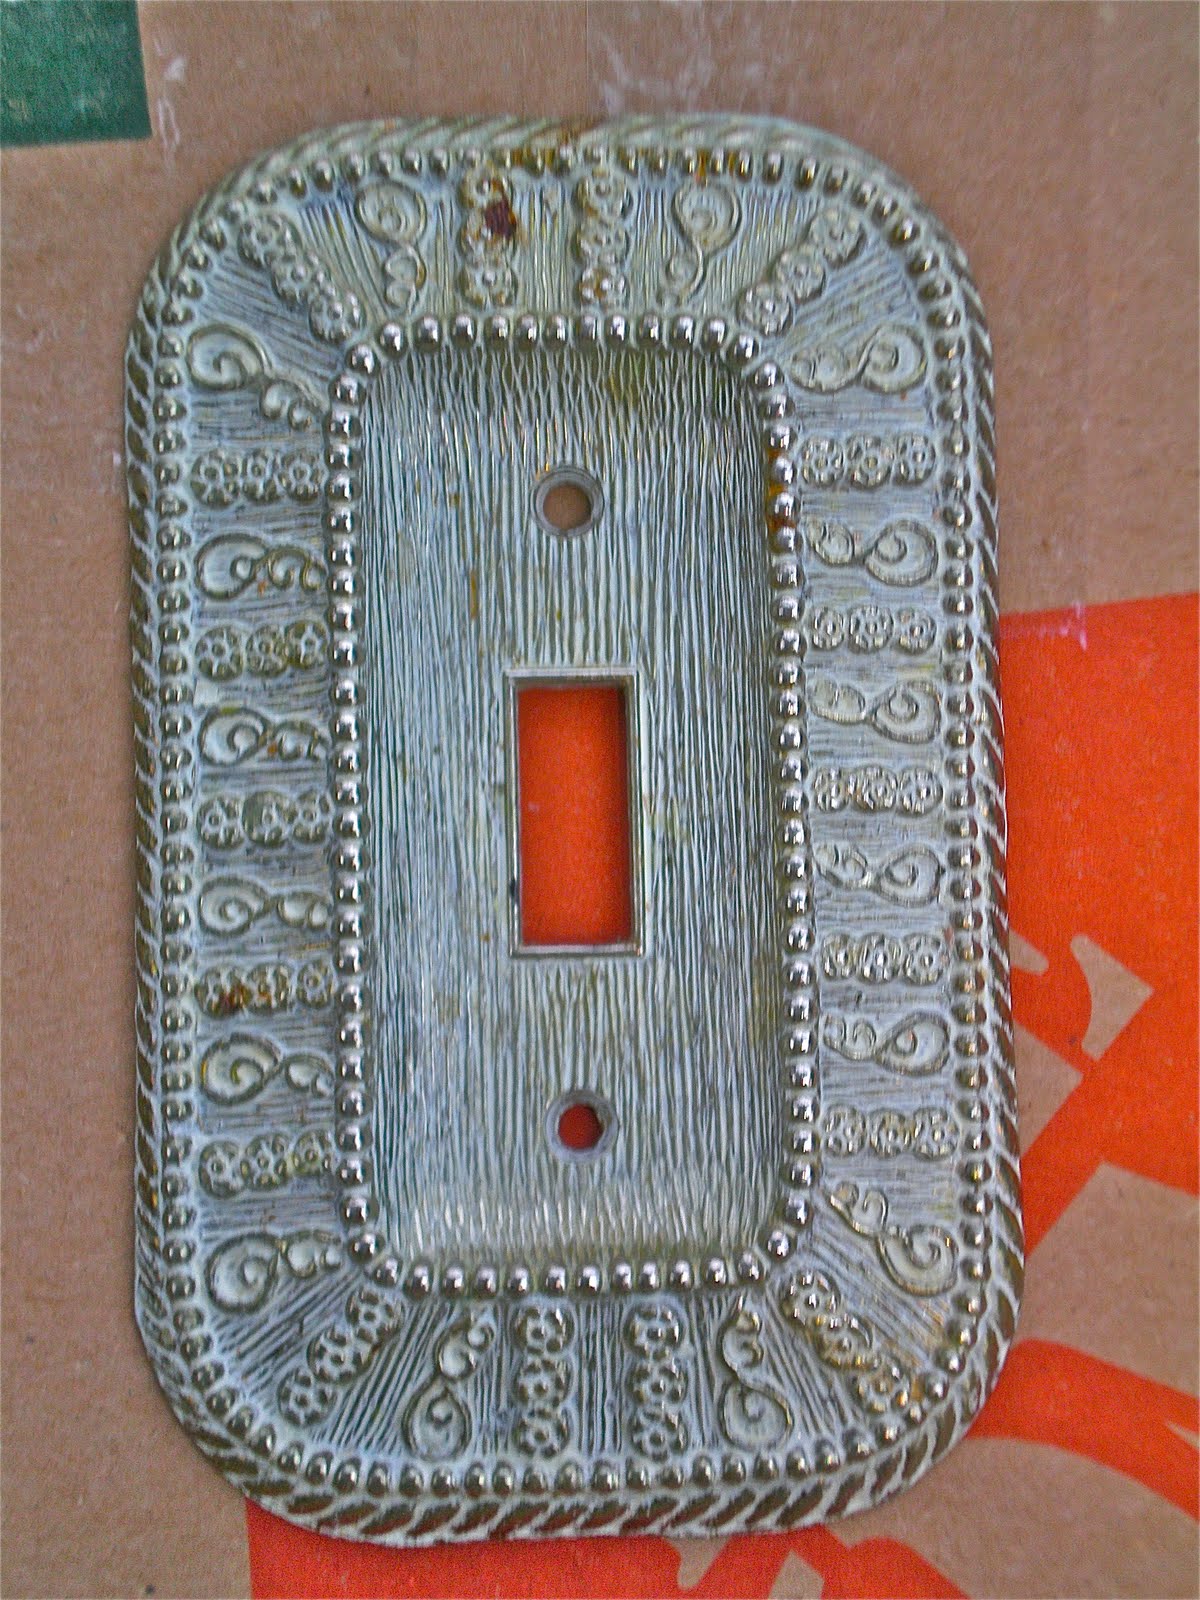
One quick and cheap project I knew I could easily tackle was replace the big standard white plastic switch and outlet covers with ornate vintage covers with more character.   Once I had this project in mind, I began slowly collecting vintage switch/outlet covers from estate sales, architectural salvation stores, and anywhere else I came across them for a really good bargain.  (Let me not forget to mention that after I had collected these, I saw some in Home Depot for very cheap that would have been fine for my project.  It figures.)

Here are the "before" of the vintage switch plates that I collected:


And here is the "before" of the boring plastic switch plates on the wall:


After some white spray paint, here is the after:


It wasn't a major project, but I do think they add more vintage character to the rooms I placed these in. 


There are a few lessons I learned from this project.

1. If you spray paint something on cardboard, it will dry stuck to the cardboard (I was literally rolling my eyes at myself as I pried them off with a screwdriver and then had to peel away the paper cardboard stuck to the backs).

2. Those cheap little plastic cover plates cover up alot of mistakes behind them, such as bad paint jobs, outlet cut outs that are too big or poorly cut, and even a dead bug.  (I admit, I yelped and jumped).   If the vintage plate is smaller than the plastic plate, those blemishes might show. 

3. Some vintage switch/outlet plates are not the same size as modern outlets, and won't fit or will protrude oddly from the wall.


PS - Blogger finally made an Iphone app so you can blog on-the-go!   Have any of you used it, and what do you think?


This project was shared with:

Passionately Artistic's Linking Party
Saved By Loves Creations' Thrifty Thursday
The Shabby Creek Cottage's Transformation Thursday
Boogie Board Cottage's Masterpiece Monday
Common Ground's  Vintage Inspiration Friday
My Romantic Home's Show and Tell Friday